 Talos
Talos Omni
Omni Kubernetes Guides

Unifi Identity Enterprise
This section describes how to use Unifi Identity Enterprise (here forward UIIE) SSO with Omni via SAML First, login to the UIIE Manager portal and navigate to the SSO Apps section in the left menu. Next, Add a new app. Choose “Add Custom App”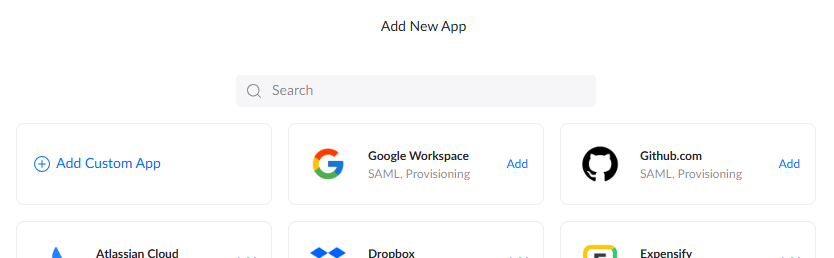
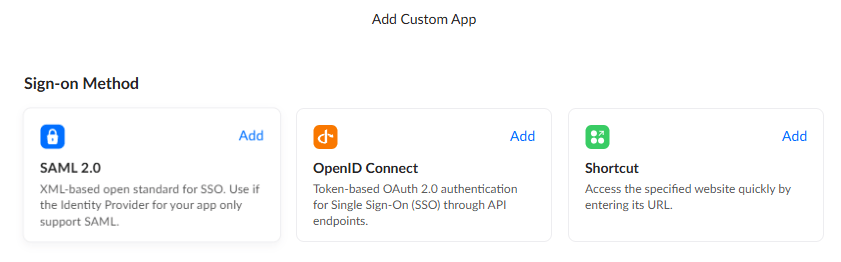
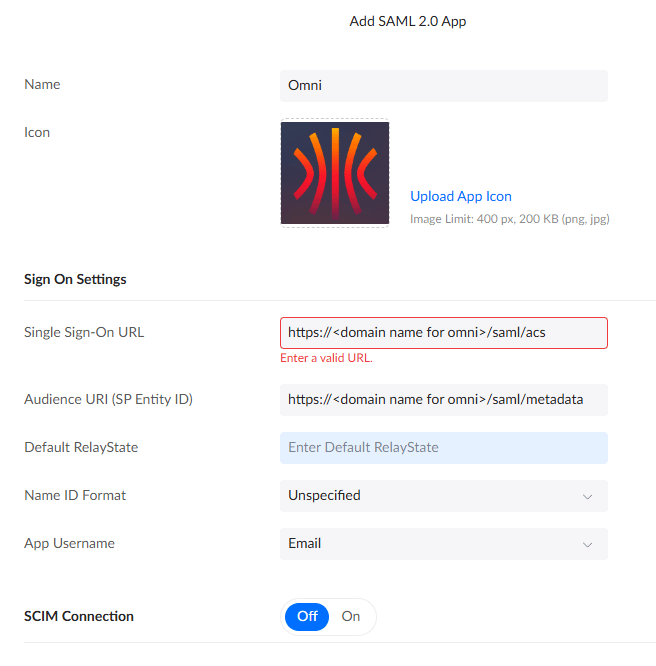
After entering the above values and clicking the “Add” button, you’ll be taken to another screen with some details. We don’t need anything from here, we’ll get info we need later after further configuration, so just click “Done” to proceed.
You’ll now be on the screen to manage the app, here you’ll want to assign users/groups according to who you would like to have the ability to login to Omni. To start with, you probably only want to assign the person who will be the primary admin, as the first user to login will be granted that role in Omni. Therefore, best practice would be to assign your primary admin, have them login to Omni, then come back into the app here and assign any other users who should have access.
Once you’ve assigned the user(s) accordingly, click the “Settings” bubble at the top of the screen as some final configuration is needed here.


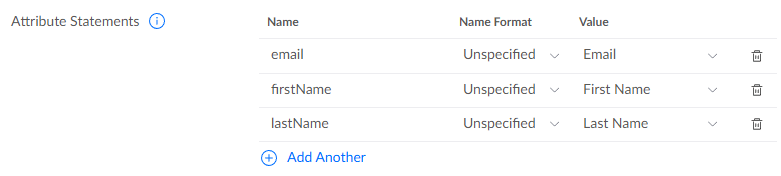
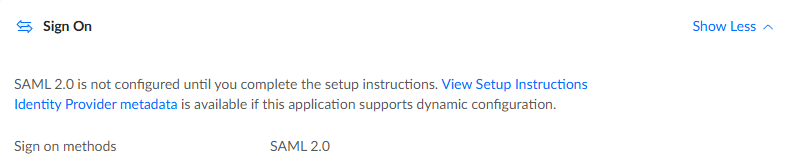
Lastly, you’ll need the IDP Metadata file which can be obtained via the View Setup Instructions link or downloaded as an xml file via the Identity Provider metadata link; both of which are slightly further up the page.
~/uiieIDPmetadata.xml
This completes the configurations required in UIIE
Omni
To get Omni to use UIIE as a SAML provider, the following flags should be passed to Docker & the Omni container on launch.
For example;